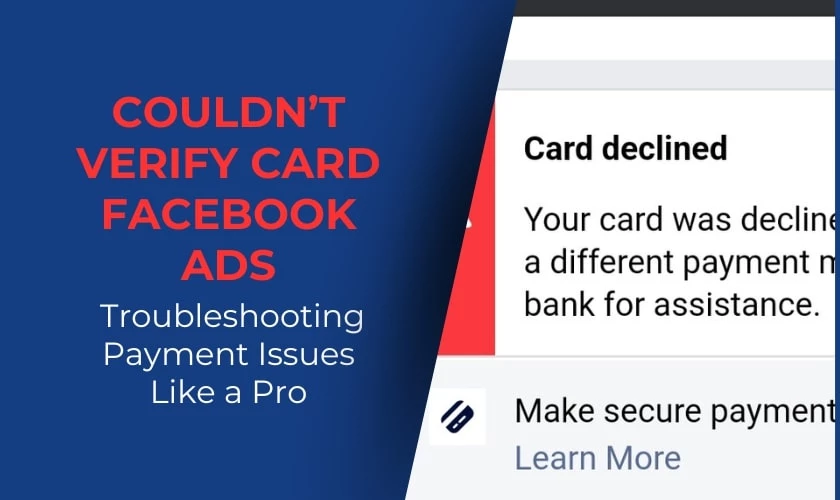
You’re ready to launch your new ad campaign after setting everything up. You hit “Publish,” and suddenly you get a message like “Couldn’t verify card Facebook ads.” Even though you’ve tried many ways and refreshed it, it still doesn’t work. Don’t worry, this article will guide you step by step on how to fix the “couldn’t verify card Facebook ads” error just for you.
What Does “Couldn’t Verify Card Facebook Ads” Really Mean?
Couldn't verify card is an error message that is essentially indicating that it cannot confirm the legitimacy and viability of the card or payment details being used. This serves as both a security measure to protect users and Facebook from potential fraud. To limit as well as to prevent campaigns from running with an invalid payment method.
Common triggers include incorrect card details like expired dates or typos, low account balances, payment blocks by certain banks, and suspected suspicious purchases. While inconvenient, it prevents bigger issues down the line for both advertisers and Facebook.
The good news is that many cases stem from minor fixable issues on the user's end. Carefully entering card info again often resolves it. For recurring errors, contacting your bank to allow online ad payments or reaching out to Facebook support can get your ads running smoothly. Stay calm and act methodically to verify your legit payment method.
Common Causes of the “Couldn’t Verify Card Facebook Ads” Error
Understanding why this error occurs is the first step to fixing it. Here are the most frequent reasons that your card is not working.
1. Incorrect Card Details
Cards with multiple numbers including typo in your card number, expiration date, or CVV code can trigger the error. Therefore, be careful to double-check the card number to avoid confusion.
2. Insufficient Funds
When running Facebook ads, you need to note that it will charge a fee when adding a Visa card to the payment method. Therefore, if Facebook does not accept a Visa card, it may be because the card does not have enough money to deduct the card addition fee.
3. Bank Restrictions
Some banks flag Facebook transactions as suspicious, especially if you’re using a card for the first time or making a large ad spend. In addition, if you have activated the card but Facebook still does not accept the card, you should check to see if the international payment feature has been enabled. Because charging for Facebook is an international transaction, if you do not enable this feature, the money cannot go to Facebook.
4. Expired or Invalid Card
An expired card is a less common error but is also a case in the couldn't Verify Card Facebook Ads situation and you should check carefully.
5. The card number is on Facebook's blacklist
A common reason why Facebook does not accept your card payment is because the card number is on Facebook's blacklist. Many people use the same bank card numbers to scam Facebook money, which creates problems for legitimate advertisers trying to scale Facebook ads.
6. The advertising account is being reviewed by Facebook
Facebook will regularly review any advertising account randomly. So during this time you will not be able to perform actions related to your account including payment.
7. Technical Glitches
Sometimes Facebook also has technical problems, please be patient and try again after 5 minutes.
Each of these causes carries its own flavor of frustration, but the good news is that they’re all fixable. Let's move on to the solutions that'll have you back in the advertising game in no time.
How to Fix the “Couldn’t Verify Card Facebook Ads” Error
Seeing the "couldn't verify card" message is a stressful roadblock when trying to fund Facebook Ads campaigns. But don't freak out! Many cases boil down to quick fixes. Equipped with the right troubleshooting techniques, you can often resolve payment verification failures on your own. Let’s walk through the top solutions.
Step 1. Double Check Card Details Carefully
Start by re-entering all card information from scratch. Yes, it’s tedious, but even one mistyped digit can trigger the error. Ensure the card number, security code, ZIP code, and expiration date precisely match your physical card.
Step 2. Verify Account Funds Are Sufficient
Before approving payments, Facebook runs a small $1 test charge on cards. Log into your bank account to confirm available funds cover this. Avoid embarrassment by topping up balances nearing zero.
Step 3. Call Your Bank to Allow Facebook Payments
Security blocks on digital advertising platforms occasionally trigger verification failures. Contact your bank to ask about Facebook transaction restrictions and request access. Unblocking the domain can give your card the green light.
Step 4. Add a New or Different Payment Method
If re-entering details and bank troubleshooting don’t cut it, try connecting an entirely different card or payment channel like PayPal. This workaround sidesteps cards that stubbornly won’t cooperate with Facebook’s systems.
Step 5. Attempt Verification on Other Devices or Browsers
Technical issues occasionally interfere with payment verification. Try adding your card from a different phone, computer, or web browser. Changing the environment can surprisingly resolve glitches.
Step 6. Contact Facebook Ads Support
If you have triple checked information, updated banking status, and attempted different devices to no avail, seek help from Facebook’s human support team via their online contact form. Provide key details around the specific error received.
Step 7. Stay Determined and Eliminate Variables
Getting past “couldn’t verify card” messages often requires patience and trial-and-error. But systematically addressing potential roadblocks will help you resurrect your Facebook Ads plans.
- Step 1: Access the contact form link above. In the payment support section, select advertising.
- Step 2: Next, click on the advertising account you want to add a payment method to and tick “I have a question about payment methods”.
- Step 3: Then, Facebook will display the question “What do you want to do” click on “Add payment method”.
- Step 4: After clicking on “Add payment method”, click on the “Add Payment Method Now” button.
- Step 5: Fill in the payment card information and click “Continue” after completing the card information.
Normally, it will take about 24 – 48 hours for Facebook to respond to the review request. If your visa card is completely “clean”, they will accept the payment card.
Conclusion, Thank you for reading our entire article. We hope that our tips will help you verify your Facebook ads card. Stick with the step-by-step best practices outlined above and keep careful records of all your troubleshooting attempts. With structured persistence, you'll regain access to smooth Facebook Advertising in no time!

Mohamed Fouad is a full-stack web developer and an entrepreneur who's really into advertising. He is the CEO of Rent Ads Agency, a company that helps businesses reach more customers through advertising. He graduated from Stanford University in 2018 and has over 4 years of experience in the tech industry.


